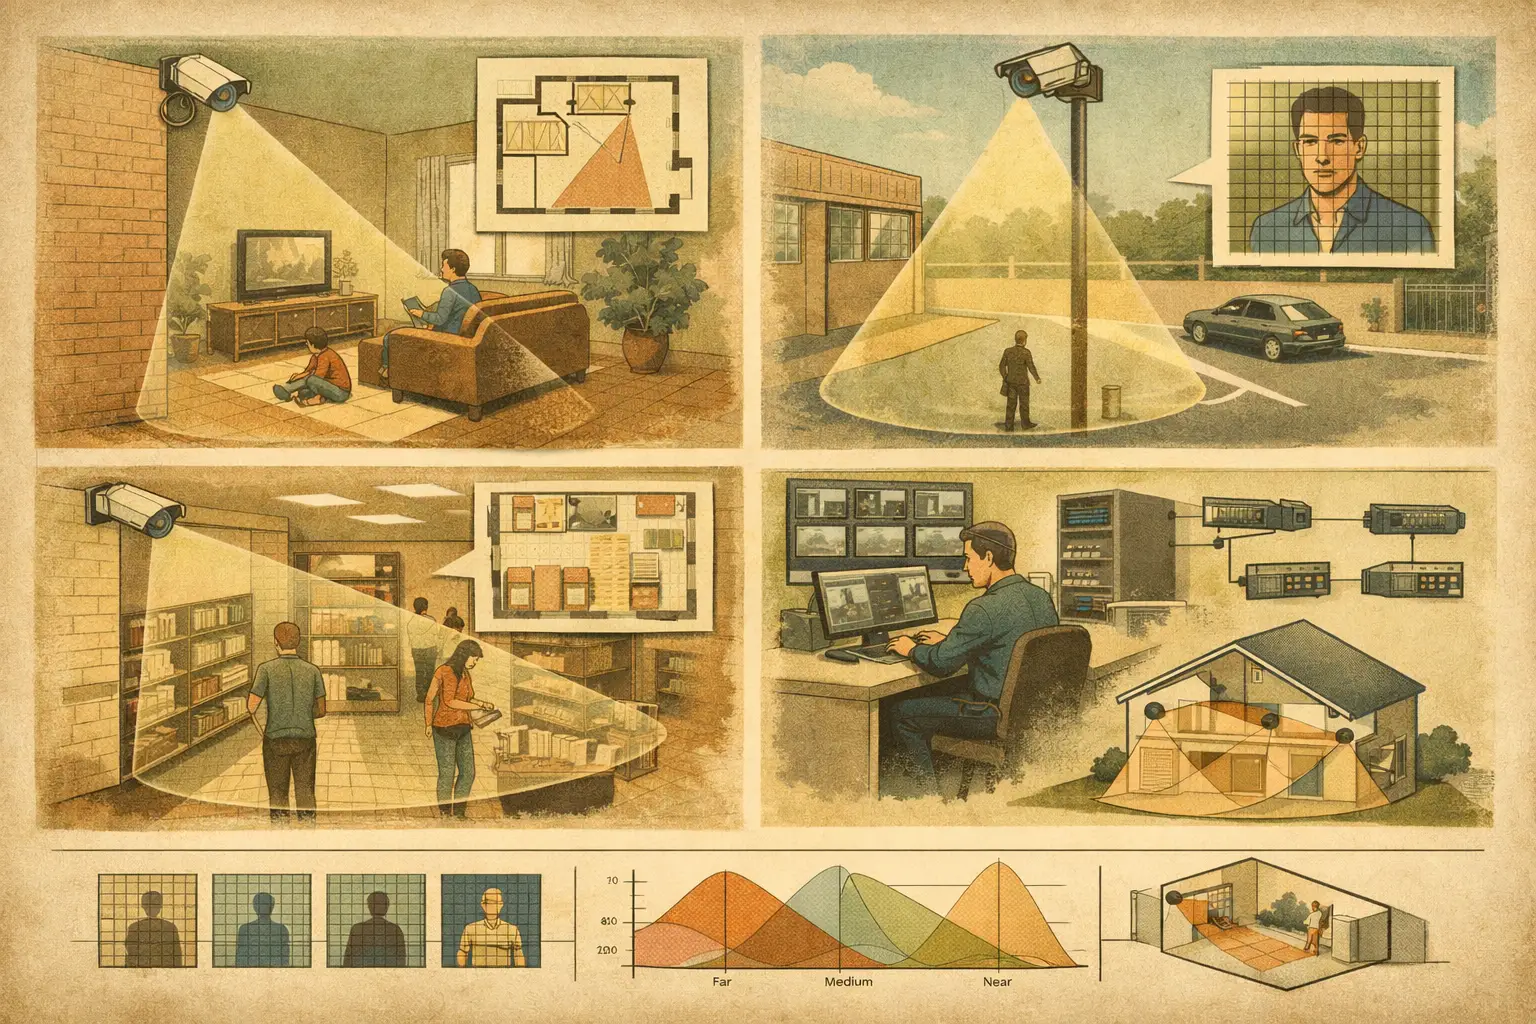
A camera mounted 10 feet above a lobby floor may give an excellent overview of movement while failing to capture a usable face at the reception desk. Mount it lower and facial detail improves, but tampering risk, glare, and obstruction from people or furnishings may increase. The best CCTV camera mounting height is therefore not one universal number. It is a calculated design decision that must connect the surveillance objective, camera optics, scene geometry, and required pixel density.
For professional CCTV design, mounting height should be treated as an input with measurable consequences. It changes the angle of view, the effective ground-plane coverage, the distance to subjects, the perspective of faces and plates, and the likelihood that walls, canopies, shelves, or vehicles will block the scene. A height that looks reasonable on a drawing can still produce weak DORI performance where it matters most.
Best CCTV Camera Mounting Height Starts With the Objective
Before selecting a height, define what the camera must achieve at each target area. DORI provides a useful framework: detection, observation, recognition, and identification require progressively more image detail. Pixel density, often expressed as pixels per meter or PPM, turns that objective into a design criterion.
A wide overview camera may be suitable at a higher position because its purpose is to detect activity, observe circulation, or support situational awareness. A camera intended to identify a person entering a controlled door generally needs a more deliberate angle and a narrower field of view. Raising it simply to cover more floor area can reduce the subject's pixel density and create a steep downward angle that limits facial usefulness.
This distinction is especially relevant where one camera is expected to perform several tasks. A single high-mounted wide-angle camera may provide broad coverage, but it may not meet identification requirements at the far edge of its field of view. In many projects, separating overview coverage from identification coverage is more defensible than forcing one camera position to satisfy incompatible requirements.
How Mounting Height Changes Camera Geometry
Mounting height interacts directly with focal length, sensor size, resolution, camera direction, and tilt. It should never be selected independently from them.
As a camera is mounted higher, the field of view projected onto the floor becomes longer when the camera is tilted downward. This can increase visible area, but the image spreads available pixels across more scene width and depth. A higher position also increases the vertical viewing angle. Faces can become partially obscured by hats, brows, or shadows, while the top surfaces of desks, vehicles, and shelving occupy more of the image.
A lower mounting position can improve the horizontal perspective needed for faces, access points, and vehicle occupants. However, it may introduce new occlusions from parked vehicles, crowds, landscaping, door leaves, or display fixtures. It can also place equipment within easier reach. The correct trade-off depends on the protected asset and the physical environment.
Tilt is equally significant. A high camera with excessive downward tilt may show a large floor area but provide limited visual detail beyond the tops of heads. A modestly tilted camera at a lower mounting height can preserve a more useful perspective, provided its field of view does not extend into unwanted areas and the camera remains physically protected.
Practical Height Ranges by Application
Height ranges are starting points for design review, not installation rules. Verify local project requirements, site conditions, and manufacturer installation instructions before finalizing any mounting detail.
Entrances, reception points, and access-controlled doors
For face capture at an entrance, the priority is usually a controlled target zone rather than maximum scene coverage. A mounting height of approximately 7 to 10 feet is often a practical starting range, depending on ceiling height, vandal risk, lens selection, and the required face angle. The camera should be aimed at the point where a person naturally pauses or passes through, not at a broad section of floor in front of the door.
Avoid placing the camera directly above the threshold if identification is required. That location commonly creates a top-down view. Offset positioning, combined with an appropriate focal length and controlled lighting, can produce a more usable facial perspective. Confirm the predicted PPM at the face-capture line, not merely at the door opening.
Corridors and interior circulation routes
Corridor cameras are commonly mounted between 8 and 12 feet high, but corridor width and ceiling services may matter more than the nominal height. A camera aligned down the corridor can cover a long route efficiently, yet people traveling close to the camera may be outside the useful target zone or appear at an unfavorable angle.
Consider where identification is actually needed. If it is required at a cross-corridor, elevator lobby, or secure-door approach, model that location separately. Check for lighting changes, protruding signs, sprinkler pipes, and open doors that create blind spots. Coverage overlap between adjacent cameras can support continuity, but overlap should be purposeful rather than assumed.
Parking areas and vehicle approaches
Outdoor parking areas often encourage high mounting because poles and building elevations provide clear sight lines. Heights of roughly 12 to 20 feet may be appropriate for overview coverage, subject to pole design, access constraints, lighting, and local site requirements. Yet an elevated overview camera is not automatically suitable for license plate capture or driver identification.
Vehicles create dynamic occlusions. A camera mounted too low may lose sight lines behind SUVs, vans, or delivery trucks; a camera mounted too high may create steep plate angles and reduce readable detail. Model typical parking layouts, travel direction, gate equipment, landscaping, and headlight glare. Where a specific vehicle event must be documented, use a dedicated target zone with camera geometry designed for that purpose.
Perimeters, yards, and external building lines
For perimeter observation, mounting heights commonly increase to clear fences, gates, stored materials, and pedestrian obstructions. The drawback is that coverage can look extensive while pixel density at the boundary is insufficient for recognition or identification. Long-distance scenes also require attention to focal length, atmospheric conditions, illumination, and camera stability.
Instead of selecting height from a pole schedule alone, evaluate the ground-plane coverage at the actual perimeter line. A camera may need to be lower to observe an approach route, higher to see over a fence, or paired with another camera where geometry creates unavoidable occlusion. The design output should state the intended DORI level at each critical zone.
Check the Scene in Three Dimensions
A two-dimensional coverage cone is useful, but it can conceal important problems. Walls, glazing, canopies, racking, columns, trees, parked vehicles, and changes in elevation can all alter actual visibility. Mounting height often determines whether the camera sees over an obstruction or records only part of the event behind it.
Start by importing and scale-calibrating the floor plan. Establish wall geometry, openings, ceiling or pole locations, and known obstructions. Then place the camera using proposed mounting height, direction, tilt, focal length, sensor size, and resolution. Review the resulting field of view against the target zones and test alternate heights before changing camera count or lens selection.
This workflow also improves coordination. The security designer can identify where a proposed camera clashes with architectural features; the installer can assess cable routes and access; the network team can account for camera locations in the network topology; and the project owner can review a structured, traceable rationale rather than a symbolic camera icon on a plan.
Avoid Common Mounting-Height Errors
The most common error is treating height as a standard detail applied across every camera. A consistent mounting elevation may simplify installation, but it can produce inconsistent operational results across entrances, corridors, and outdoor areas.
Another error is judging coverage only by visible floor area. A large green coverage shape does not prove that a face, object, or activity is captured at the required PPM. Review DORI at the point of interest, including the farthest relevant position and likely direction of travel.
Finally, do not ignore maintenance and physical protection. A camera positioned for ideal optics but inaccessible for cleaning, adjustment, or replacement creates an operational risk. Conversely, a heavily protected high position may need a different focal length or an additional camera to preserve detail.
Document the Mounting Decision
Each camera schedule should record mounting height, mounting surface or pole reference, direction, tilt, focal length, resolution, and intended coverage objective. Where a height was selected to clear an obstruction or achieve a target pixel density, include that rationale in the design documentation. This makes later revisions easier to review and reduces ambiguity between design, installation, and commissioning teams.
A browser-based workflow such as CCTV Design Tool Online can help teams test mounting height alongside field of view, DORI, PPM, occlusion, coverage overlap, and reporting outputs within the same project workspace. Calculated results still need to be verified against the installed environment, actual lighting, final camera settings, and qualified professional review.
The most useful height is the one that gives the right view of the right target, with documented assumptions that the project team can test before the first bracket is fixed.